Sign up, sign in, and complete onboarding
Create a verified account, complete your profile, and enter the correct organization workspace.
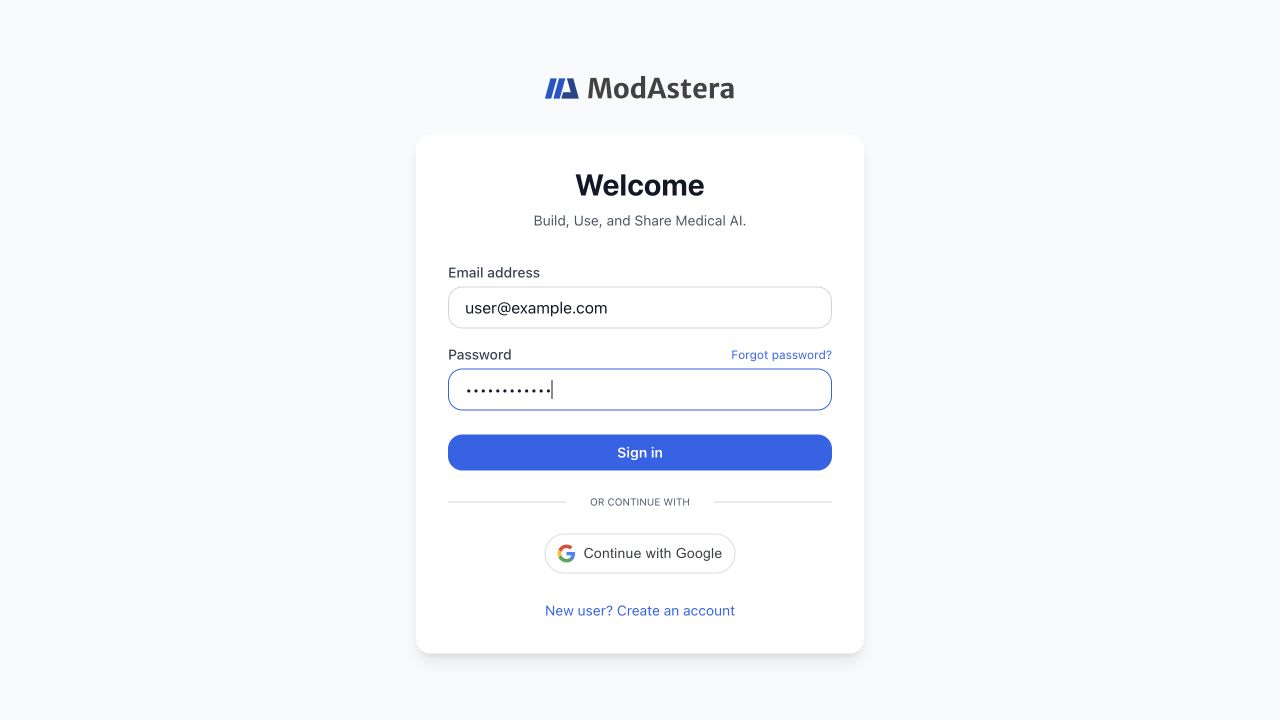
Create an account#
- Open Get Started
Choose Get Started from the public site or choose the account-creation action on the sign-in page.
- Enter your identity
Provide your first name, last name, and an email address that you can confirm. Use professional details that teammates will recognize.
- Create a strong password
Follow the password requirements shown beside the field and complete the verification challenge when it is present.
- Submit once
Choose Create account and wait for the confirmation message. Repeated submissions can create confusing duplicate requests.
Confirm your email and sign in#
- Open the confirmation message
Use the newest confirmation link. Older or already-used links can be invalid.
- Review the confirmation result
A valid link confirms the account. Missing, invalid, or expired tokens show a recovery state with a resend path where supported.
- Return to Sign In
Enter your registered email and password, or use the alternate sign-in method configured for the same email address.
- Resolve any verification banner
Some model-training actions require a confirmed email. Open the banner or Account settings to resend confirmation if necessary.
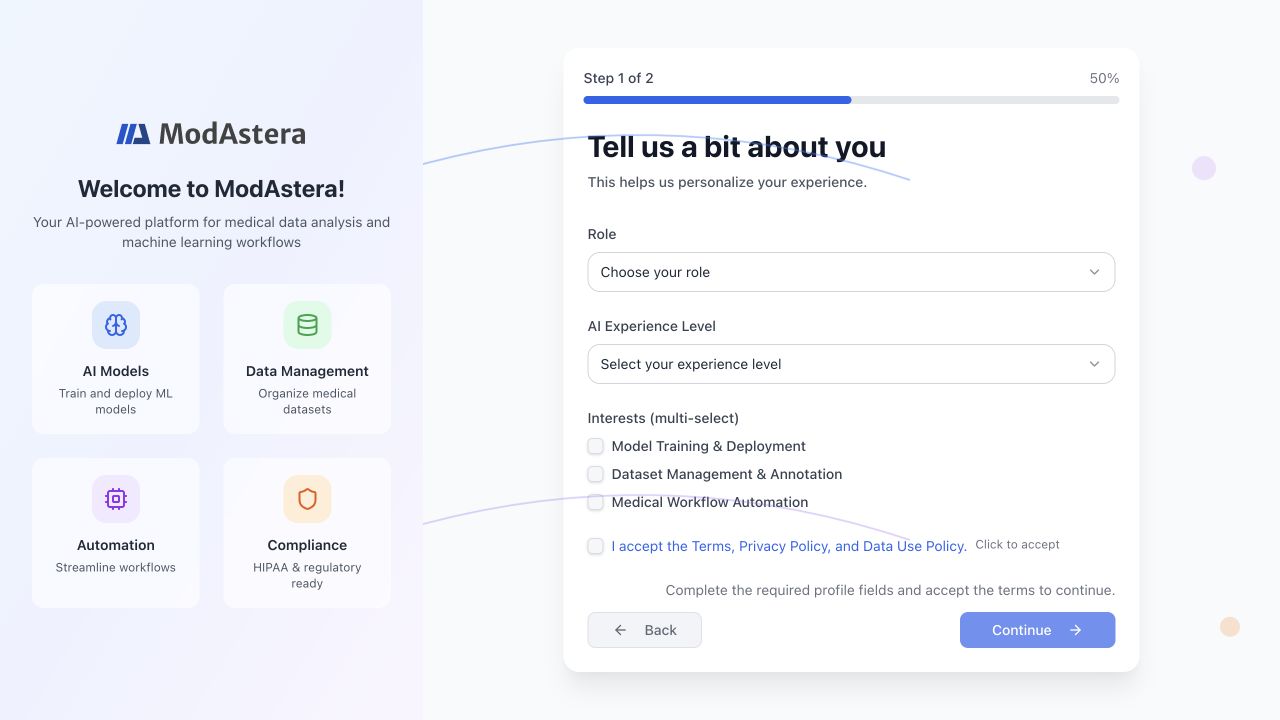
Complete profile onboarding#
- Describe your role
Choose the role, AI experience level, and interests that best describe how you will use the platform.
- Review the terms
Open and review the applicable terms, then accept them to continue.
- Handle pending invitations first
When workspace invitations exist, review the organization and choose Accept or Decline before creating a different workspace.
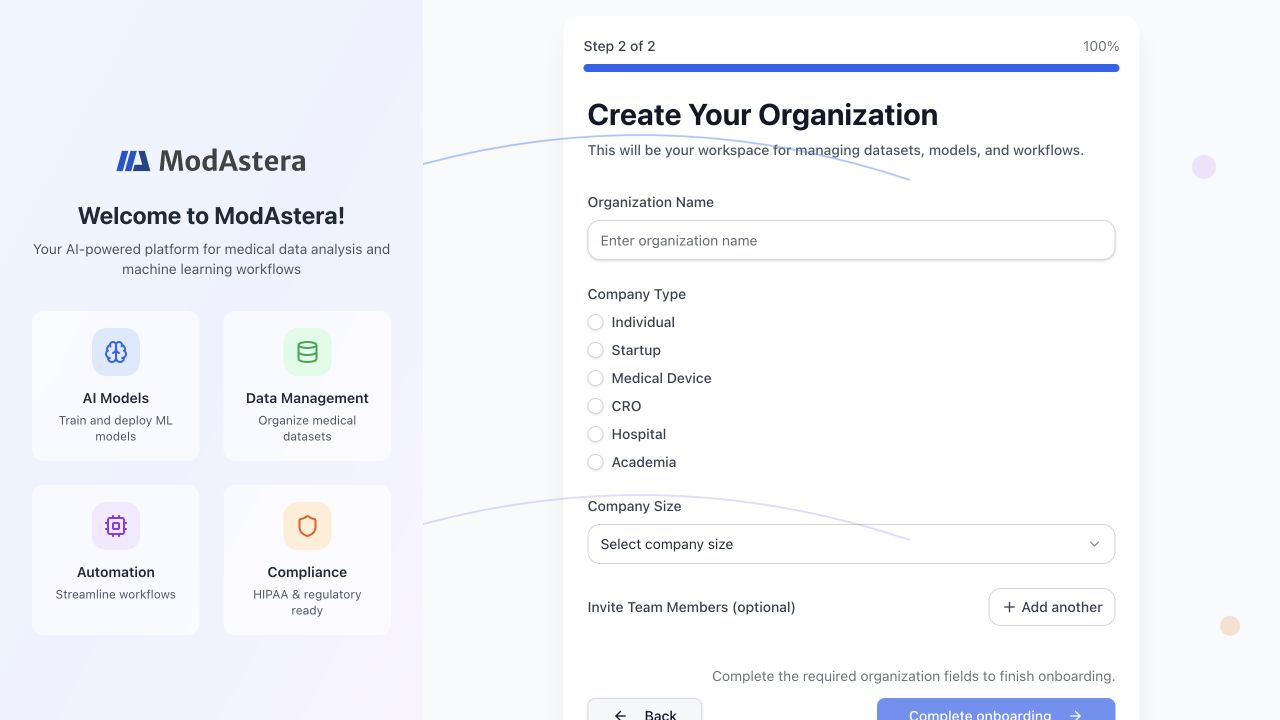
- Create a workspace when needed
Provide the organization name, type, and size. Invite teammates only when you are authorized to do so.
- Finish onboarding
Wait for the completion state, then continue to the dashboard. Do not close the page while the final step is saving.
Protect account and clinical data#
- Never share a password, reset link, session token, or API key.
- Confirm the active workspace before uploading files or starting paid compute.
- Do not upload patient-identifying data unless your organization has approved the workflow and applicable safeguards.
- Sign out from the profile menu when using a shared computer.