Work across datasets in All Samples
Find samples across the workspace, select a compatible scope, create or extend a dataset, and delete only confirmed samples.
Browse and select samples across datasets#
Before you begin
- Clear any prior selection before starting a task with a different data type or destination.
- Open All Samples
Review the visible sample previews, names, types, and source context.
- Narrow the workspace
Use available search, filters, and pagination to reach the intended samples.
- Select compatible items
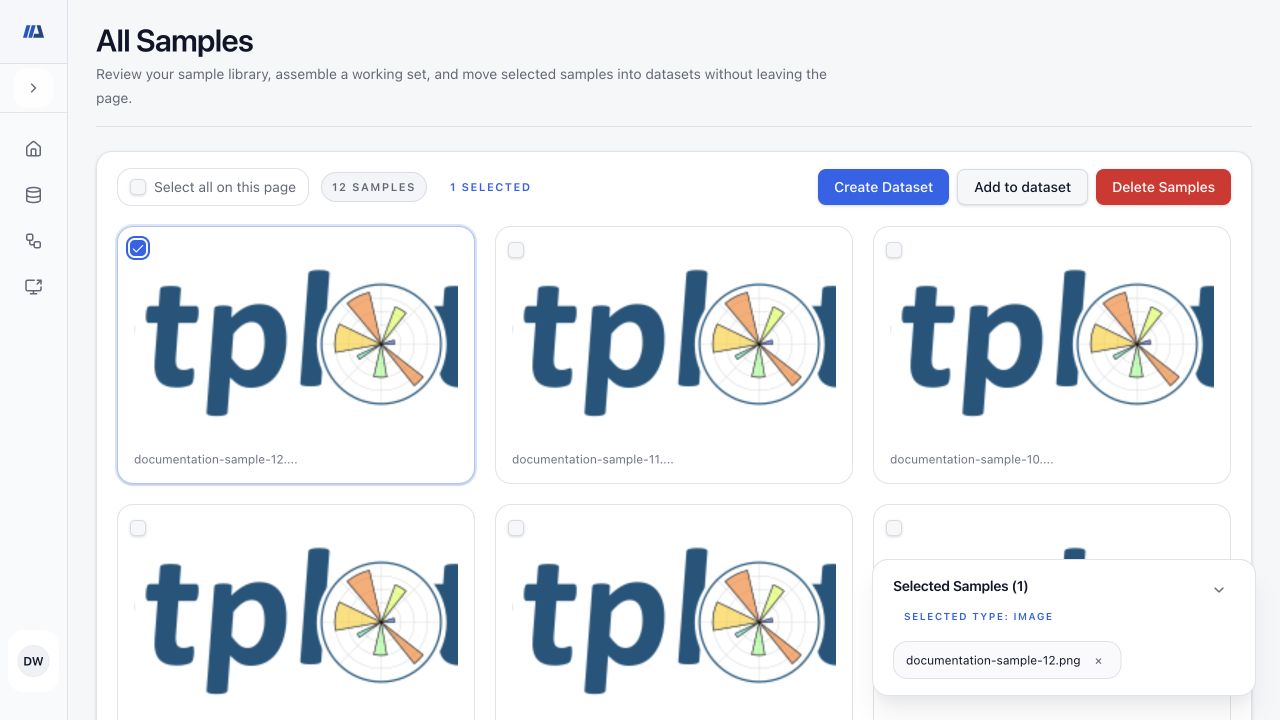
Choose individual samples, or select all samples on the current page. Do not assume that page selection includes every result on other pages.
- Confirm one data type
Before creating or extending a dataset, ensure all selected samples have the same compatible type.
- Review the selection tray
Confirm the count and intended action before continuing.
Create a dataset from selected samples#
Before you begin
- Confirm the exact selected count and data type.
- Prepare a non-sensitive dataset name and description.
- Choose Create Dataset
Start the action from the selection tray after confirming the selected samples.
- Name and describe the destination
Enter a clear name and description that explain why these samples form a dataset.
- Create once
Submit the operation and wait for the destination to be created.
- Open and verify
Open the new dataset and compare its type and sample count with the original selection.
Add selected samples to an existing dataset#
Before you begin
- Confirm the selected samples share one type.
- Know whether the destination splits are locked.
- Choose Add to Dataset
Open the existing-dataset action from the selection tray.
- Find a compatible destination
Search for and select the intended editable dataset. Clear the search if the expected destination is hidden.
- Set optional metadata
Choose an available split and, when needed, a classification label and value to apply to the added samples.
- Respect a locked test split
Do not assign new samples to Test when the destination split is locked; choose another split or leave it unset.
- Submit and reconcile
Wait for completion, open the destination, and review added, duplicate, skipped, or failed samples.
Delete selected samples safely#
Before you begin
- Confirm every selected sample and the current page or filter scope.
- Preserve any source or annotations needed for recovery or audit.
- Review the selection
Inspect the selection tray count and open uncertain samples before choosing Delete.
- Read the confirmation
Verify that the dialog names the intended action and sample scope. Cancel when either is unclear.
- Confirm once
Proceed only after the selected items and consequences are understood.
- Verify affected datasets
Refresh All Samples and any source datasets, then recheck counts, splits, readiness, and dependent work.